 > Connecting hard disk drive > Vutlan monitoring system unscrew open coverr.jpg")
Carefully unscrew the screws holding the cover and open it.
Depending on the monitoring system, it may have Antenna, LTE modem, Dry Contact boards, or any other additional modules installed inside. Carefully open the box by unplugging, if necessary, any cables that connect from the top cover to the bottom cover. |
 > Connecting hard disk drive > Vutlan monitoring system HDD SATA SSD Hard drive mounting.jpg")
Screw the mounting bracket to the 2.5" Hard drive. The mounting bracket is mounted inside the monitoring unit or sold separately together with the HDD. Use M3 screws.
 > Connecting hard disk drive > Vutlan monitoring system legs HDD SATA position.jpg")
 > Connecting hard disk drive > Vutlan monitoring system HDD SATA SSD Hard drive installation.jpg")
Screw together the mounting bracket with the hard drive to the enclosure legs. These two legs can be found using the picture to the left. Use M3 screws.
SATA ATA data cable 90° clip
 > Connecting hard disk drive > SATA DATA cable Vutlan 180 degrees.jpg")
 > Connecting hard disk drive > SATA DATA cable Vutlan 90 degrees.jpg")
Connect the 90° end of the cable to the hard drive disk.
The other end of the cable is connected to the MOLEX_67800-5001 connector on the main board of the unit.
The cable can be purchased at www.tme.eu .
 > Connecting hard disk drive > index.jpg")
SATA power cable:
a) For older VT960 systems with a connector 3.96mm pitch.
 > Connecting hard disk drive > images.jpg") to
to  > Connecting hard disk drive > SATA power cable Vutlan 2.jpg")
Left connector: SATA power socket (use only 90 degrees)
You can buy part of the connector at https://sk.farnell.com/startech/satapowadapr/lead-molex-right-angle-sata-power/dp/3402760?st=sata%20cable
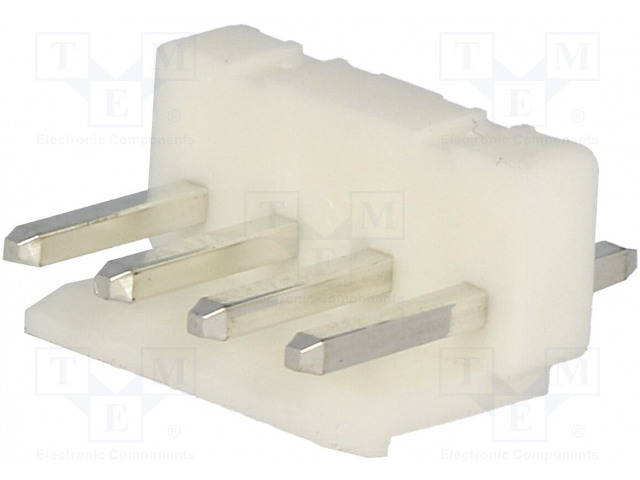
Right connector: Raster signal connector; female; 3.96mm; PIN: 4; NINIGI NS39-G4.
You can purchase it from https://www.tme.eu/sk/details/ns39-g4/signalove-konektory-raster-3-96mm/ninigi/.
b) For newer VT960 systems with a connector 2.5mm pitch.
to  > Connecting hard disk drive > Atx_molex_mini.jpg")
Left connector: SATA power socket
You can buy part of the connector at https://sk.farnell.com/startech/satapowadapr/lead-molex-right-angle-sata-power/dp/3402760?st=sata%20cable
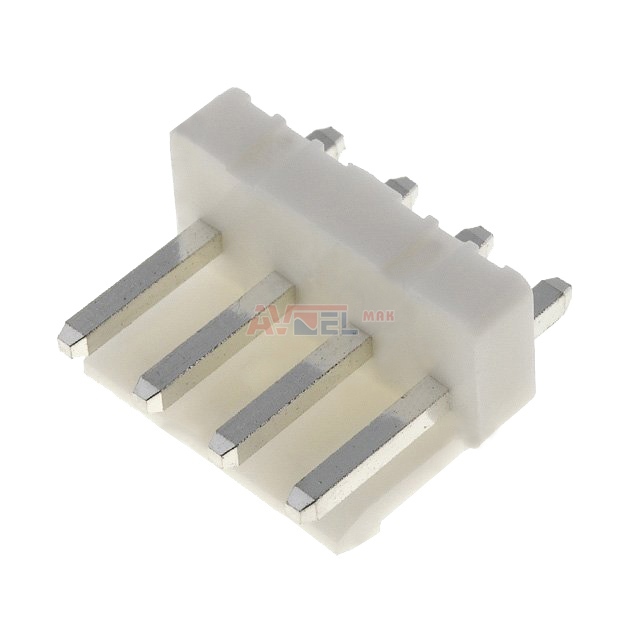
Right connector: 171822-4, Connector Housing, AMP EI, Socket, 4 Ways, 2.5 mm, AMP EI Series Contacts
You can purchase 171822-4 connectors at https://sk.farnell.com/amp-te-connectivity/171822-4/socket-housing-4way/dp/150665
1. Connect the SATA power socket end of the cable to the hard drive disk.
2a. For older VT960 systems (3.96mm pitch). Connect the other NS39-G4 end of the cable to the NS39-W4PSocket (3.96mm; PIN: 4) on the mainboard.
2b. For newer VT960 systems (2.5mm pitch):
 > Connecting hard disk drive > Vutlan monitoring system HDD installation finish.jpg")